Over the last 3 months or so, I’ve been building a lot of experimental software on the web. Silly things, fun things. And throughout, I’ve wrangled with different ways to host modern web content.
I’ve been through the ringer of hosting things on Glitch for its interactivity, Heroku to get a Node backend, even Azure App Services to run my node processes.
But each time it felt like effort, and cost, to put a small thing on the internet.
Everything was somehow a compromise in either effort, complexity, or functionality.
So when Microsoft put out the beta of static web apps a couple months ago, I was pretty keen to try them out.
They’re still in beta, the docs are a little light, the paint is dripping wet, but they’re a really great way to build web applications in 2020, and cost next to nothing to run (actually, they're free during this beta).
I want to talk you through why they’re awesome, how to set them up, and how to customise them for different programming languages, along with touching on how to deal with local development and debugging.
We need to talk about serverless
It is an oft-repeated joke – that the cloud is just other people’s computers, and serverless, to extend the analogy, is just someone else’s application server.

While there is some truth to this – underneath the cloud vendors, somewhere, is a “computer” – it certainly doesn’t look even remotely like you think it does.
When did you last dunk a desktop computer looking like this under the sea?
While the cloud is “someone else’s computer”, and serverless is “someone else’s server” – it’s also someone else’s hardware abstraction, and management team, and SLA to satisfy, operated by someone else’s specialist – and both the cloud, and serverless, make your life a lot easier by making computers, and servers, somebody else’s problem.
In 2020, with platforms like Netlify and Vercel taking the PaaS abstraction and iterating products on top of it, it’s great to see Microsoft, who for years have had a great PaaS offering in Azure, start to aim their sights at an easy to use offering for “the average web dev”.
Once you remove the stupid sounding JAMSTACK acronym, shipping HTML and JavaScript web apps that rely on APIs for interactivity, it’s a really common scenario, and the more people building low-friction tools in this space, the better.
Let’s start by looking at how Azure Static Web Apps work in a regular “jamstack-ey” way, and then we’ll see how they’re a little bit more magic.
What exactly are Azure Static Web Apps?
Azure Static Web Apps is currently-beta new hosting option in the Azure-WebApps family of products.
They’re an easy way to quickly host some static files – HTML and JavaScript – on a URL and have all the scaling and content distribution taken care of for you.
They work by connecting a repository in GitHub to the Azure portal’s “Static Web Apps” product, and the portal will configure your repository for continuous delivery. It’s a good end-to-end experience, so let’s walk through what that looks like.
Creating your first Static Web App
We’re going to start off by creating a new repository on GitHub -

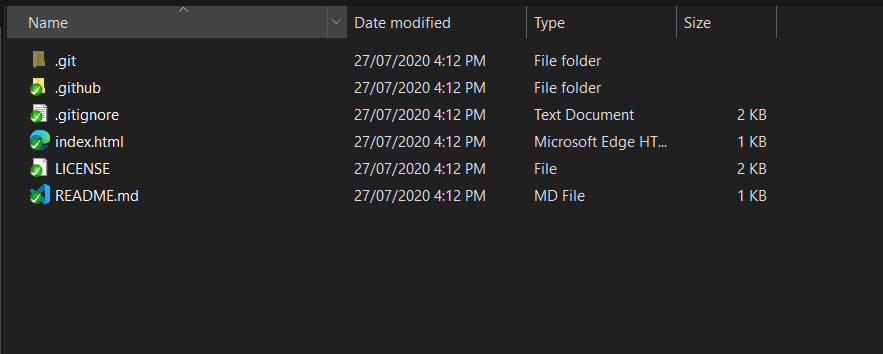
And add an index.html file to it…
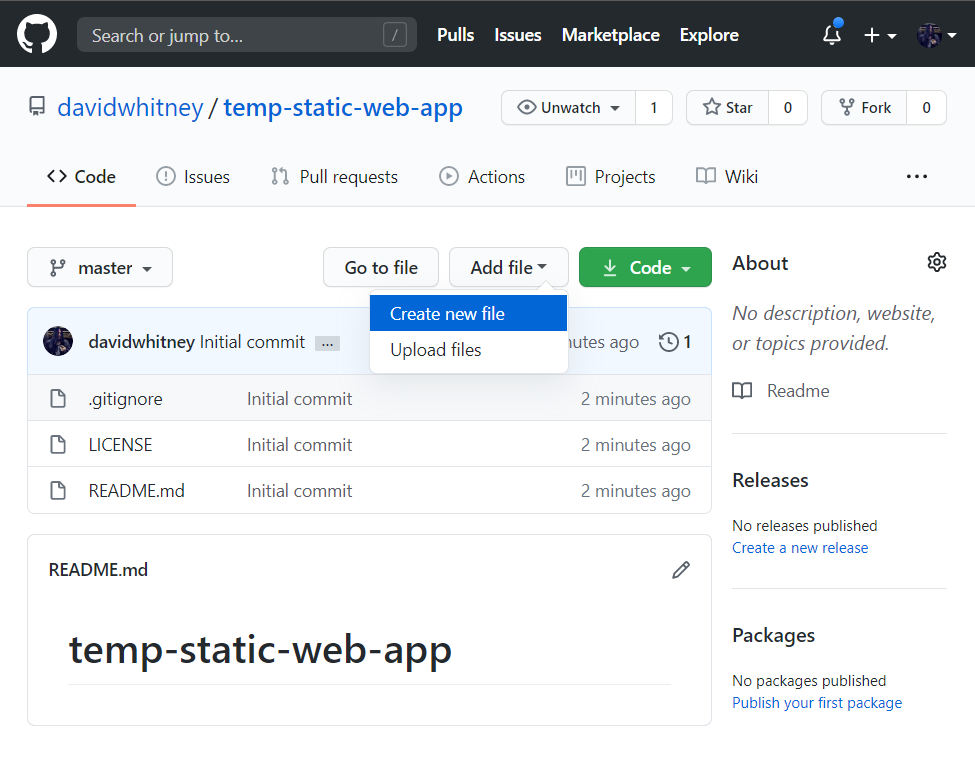
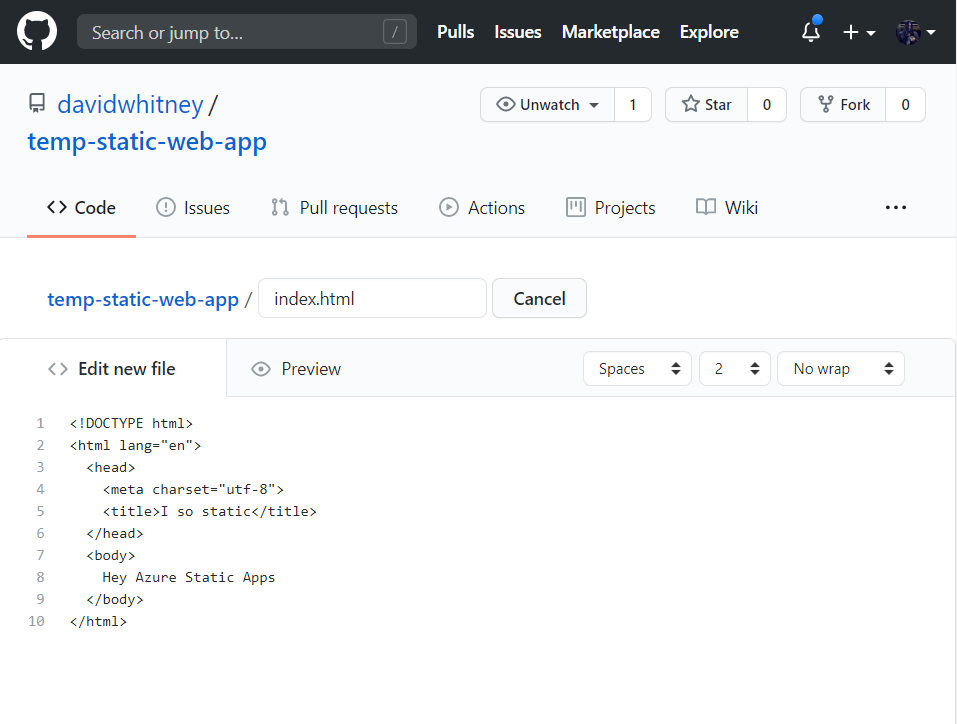
Great, your first static site, isn’t it grand. That HTML file in the root is our entire user experience.
Perfect. I love it.
We now need to hop across to the Azure portal and add our new repository as a static site.
The cool thing about this process, is that the Azure portal will configure GitHub actions in our repository, and add security keys, to configure our deployment for us.
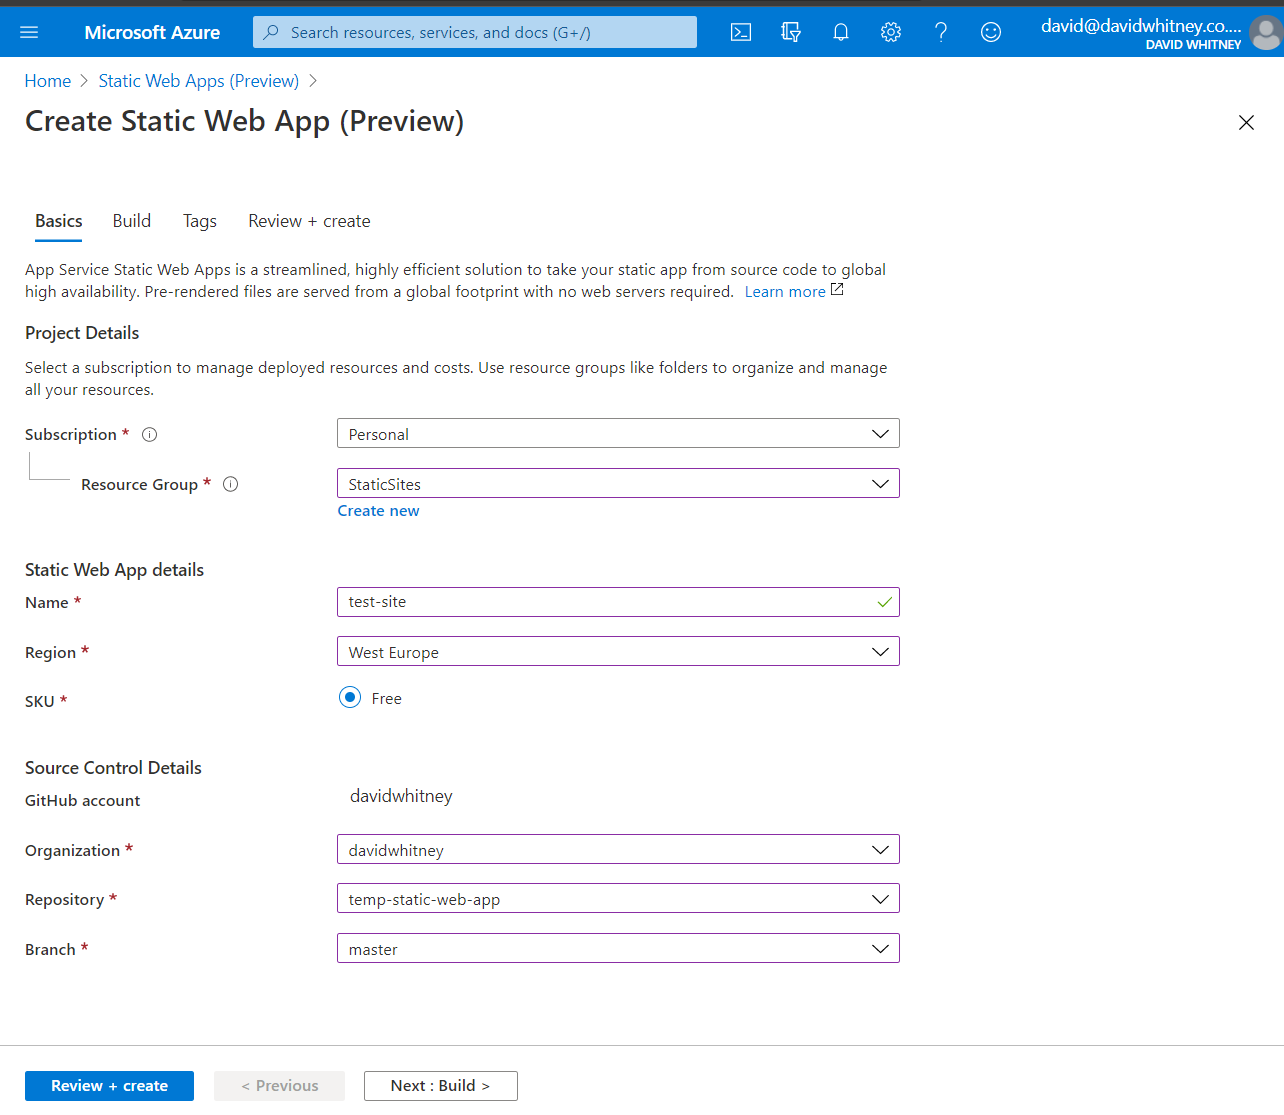
We’re just giving the new site a resource group (or creating one if you haven’t used Azure before - a resource group is just a label for a bunch of stuff in Azure) and selecting our GitHub repository.
Once we hit Review + Create, we’ll see our final configuration.
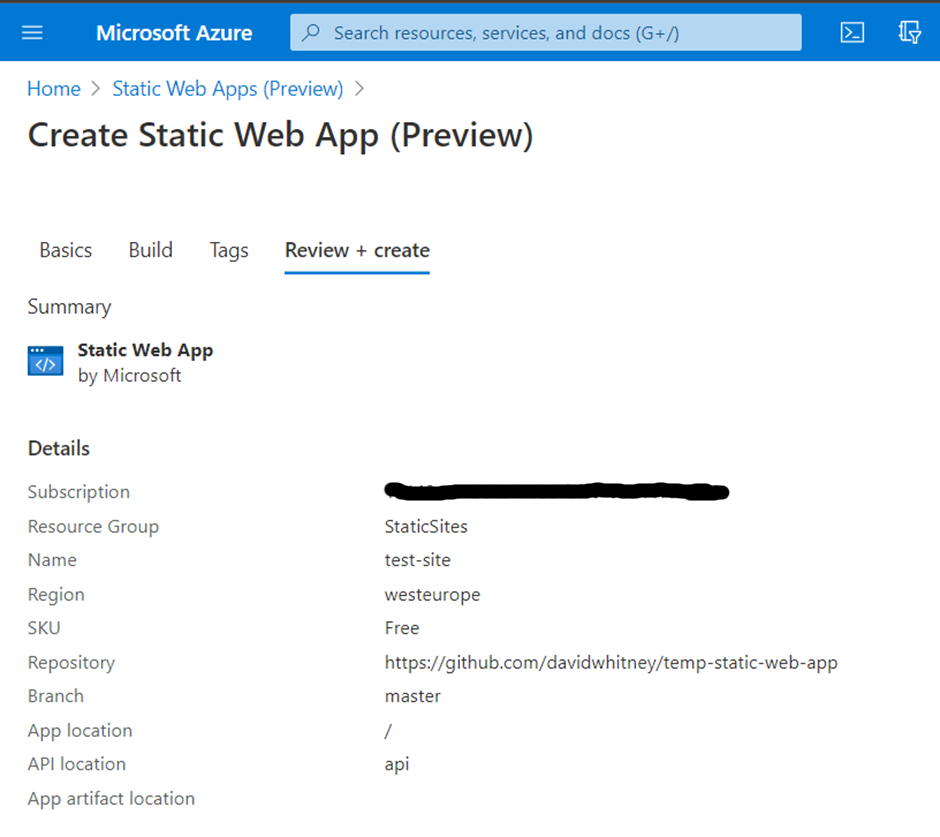
And we can go ahead and create our app.
Once the creation process has completed (confusingly messaged as “The deployment is complete”) – you can click the “Go to resource” button to see your new static web app.
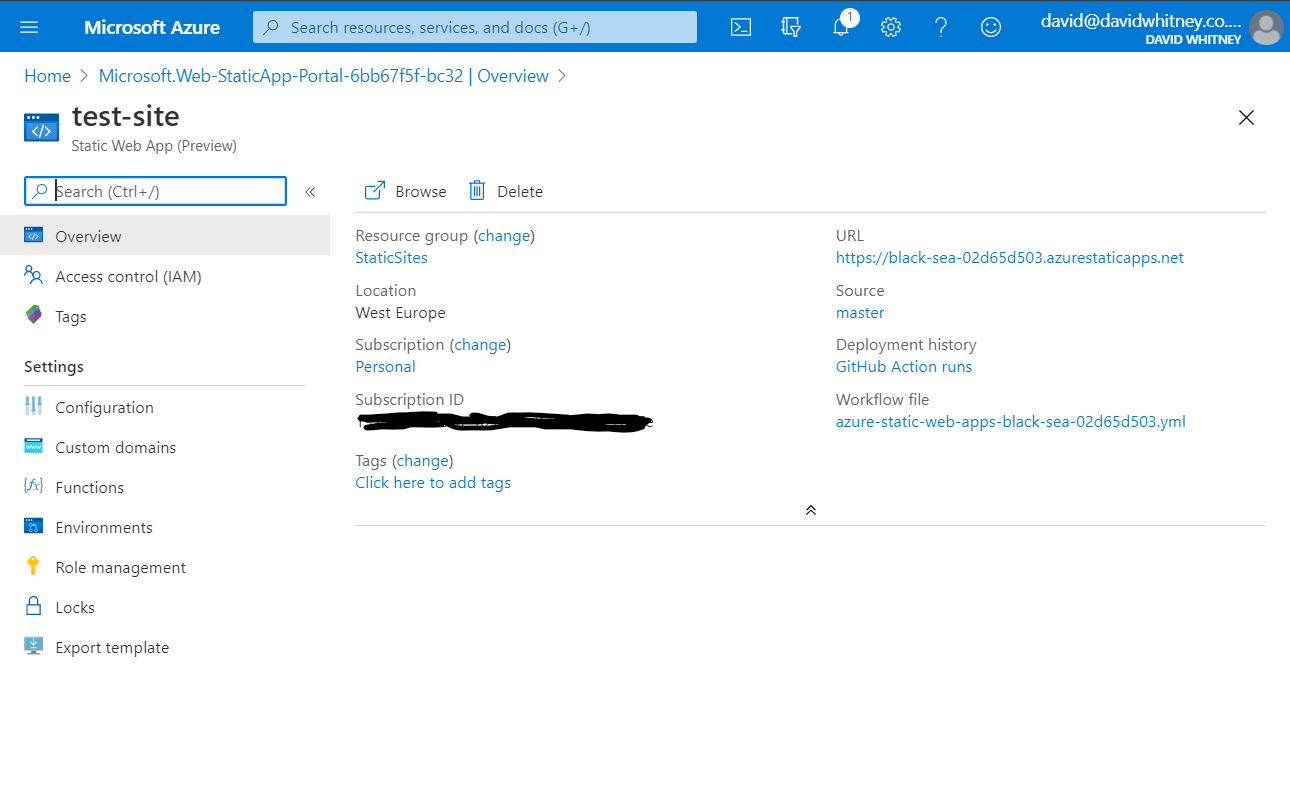
And you’re online!
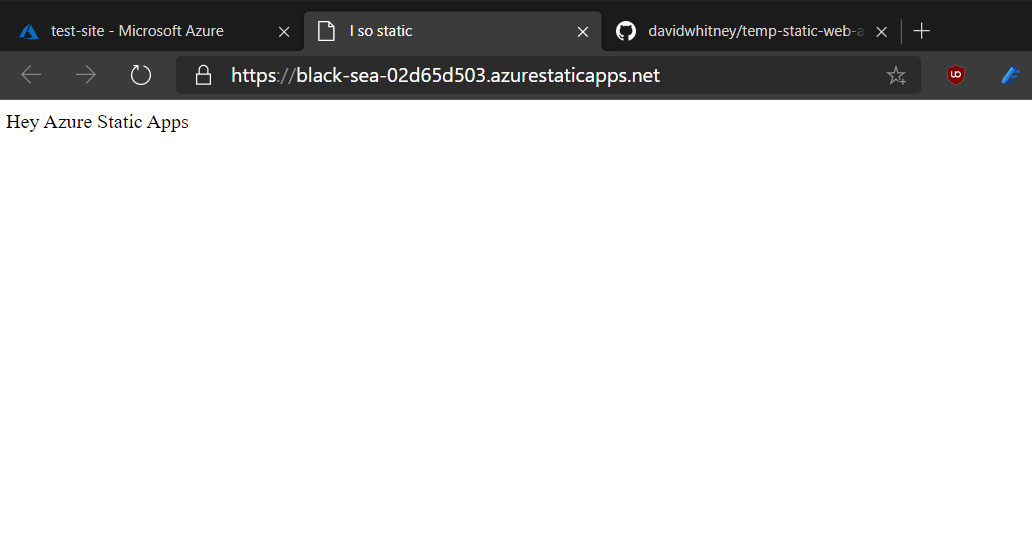
I legitimately think this is probably the easiest way to get any HTML onto the internet today.
Presuming you manage to defeat the Microsoft Active Directory Boss Monster to login to Azure in the first place ;)
What did that do?
If we refresh our GitHub page now, you’ll see that the Azure Create process, when you gave it permission to commit to your repositories, used them.
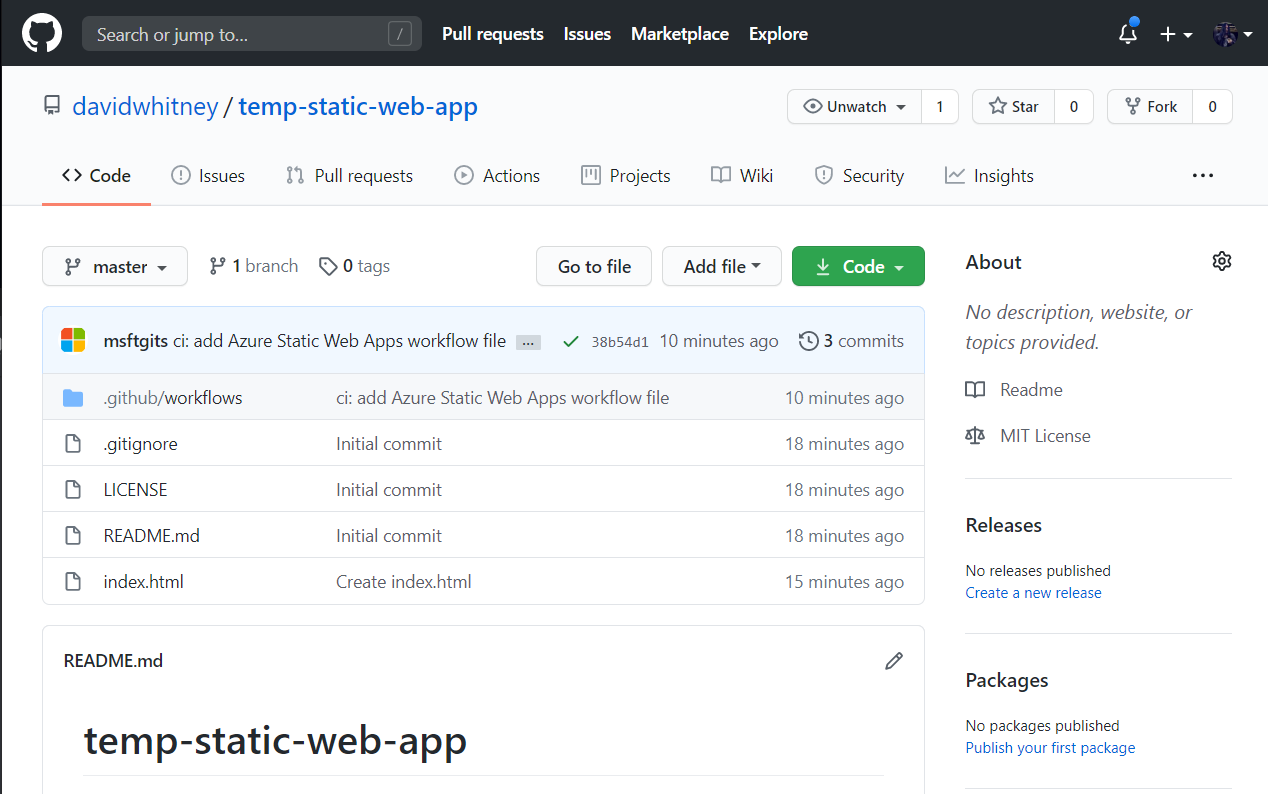
When you created your static web app in the Azure portal, it did two things:
- Created a build script that it committed to your repository
- Added a deployment secret to your repository settings
The build script that gets generated is relatively lengthy, but you’re not going to have to touch it yourself.
It configures GitHub actions to build and push your code every time you commit to your master branch, and to create special preview environments when you open pull requests.
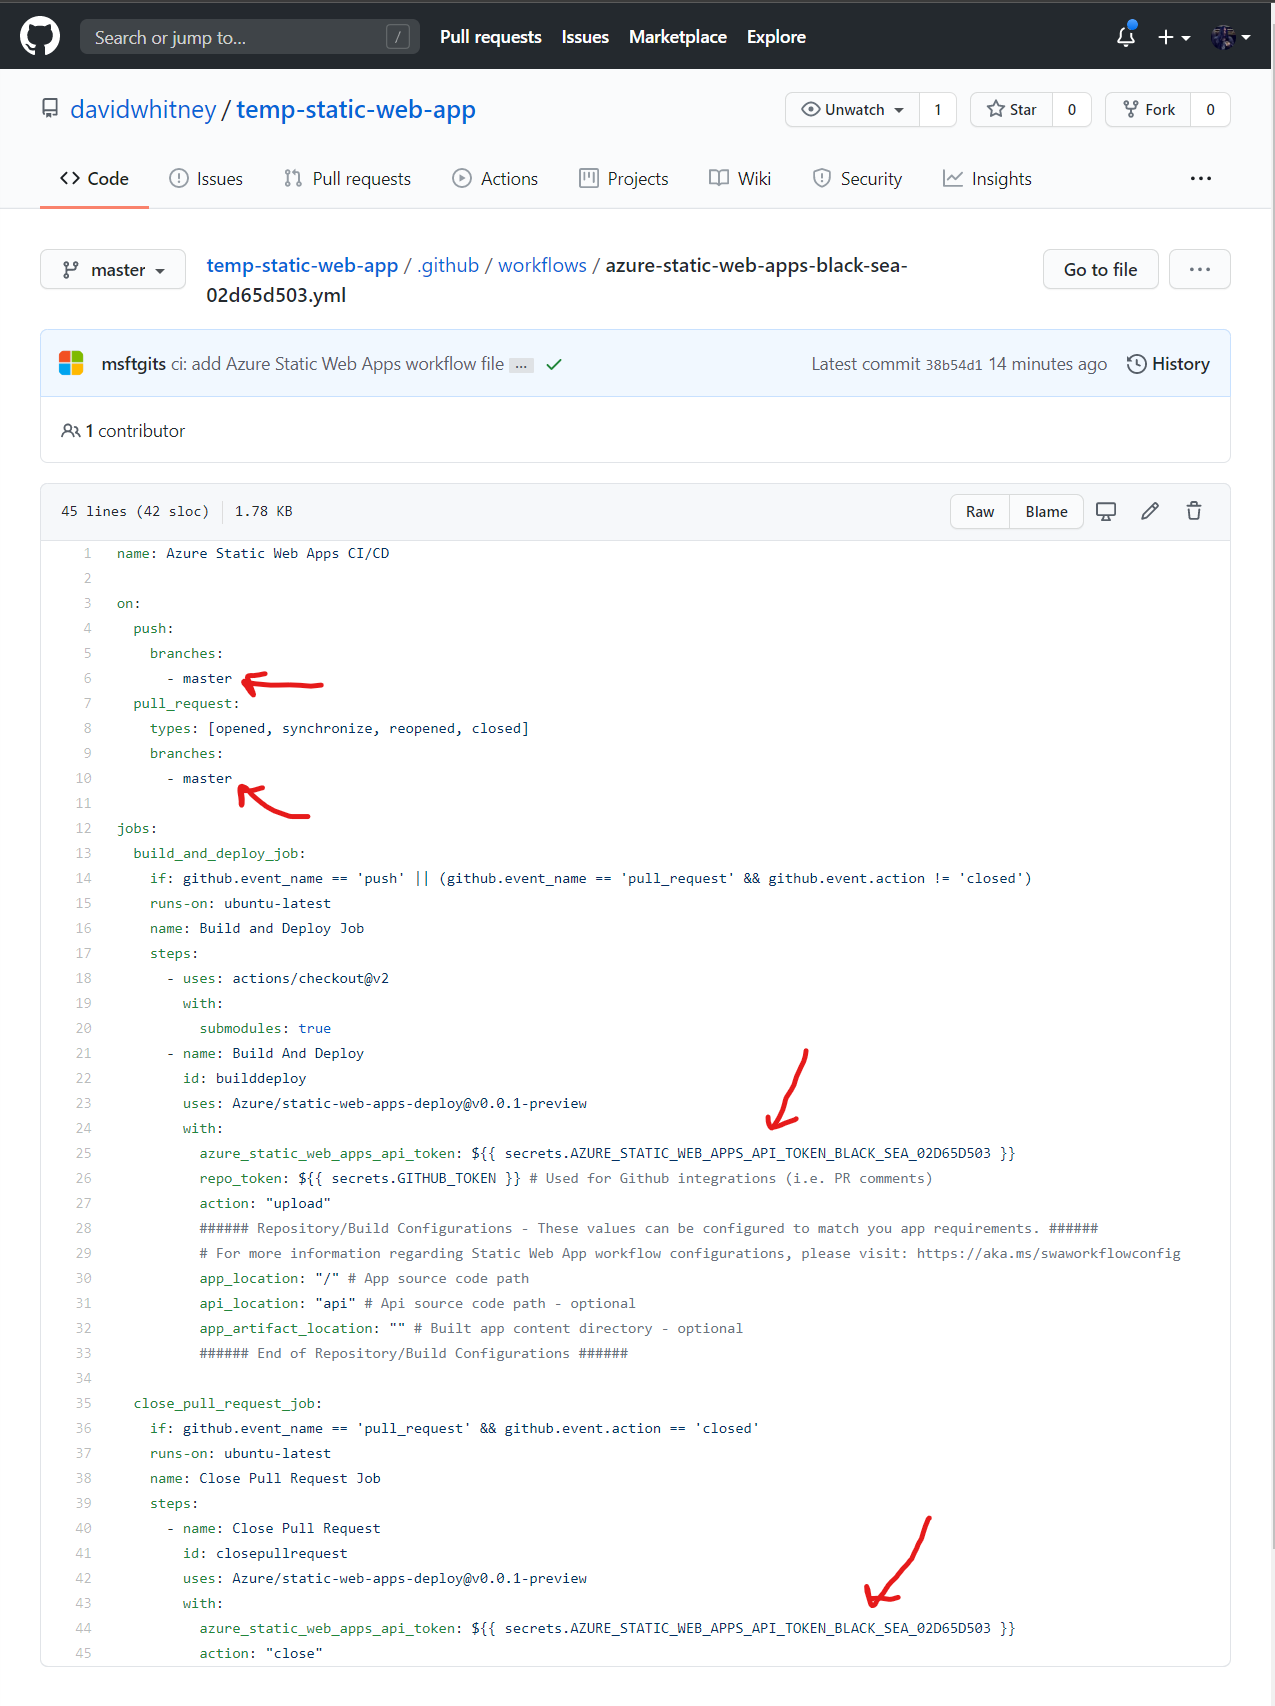
This build script is modified each time to reference the deployment secret that is generated by the Azure portal.
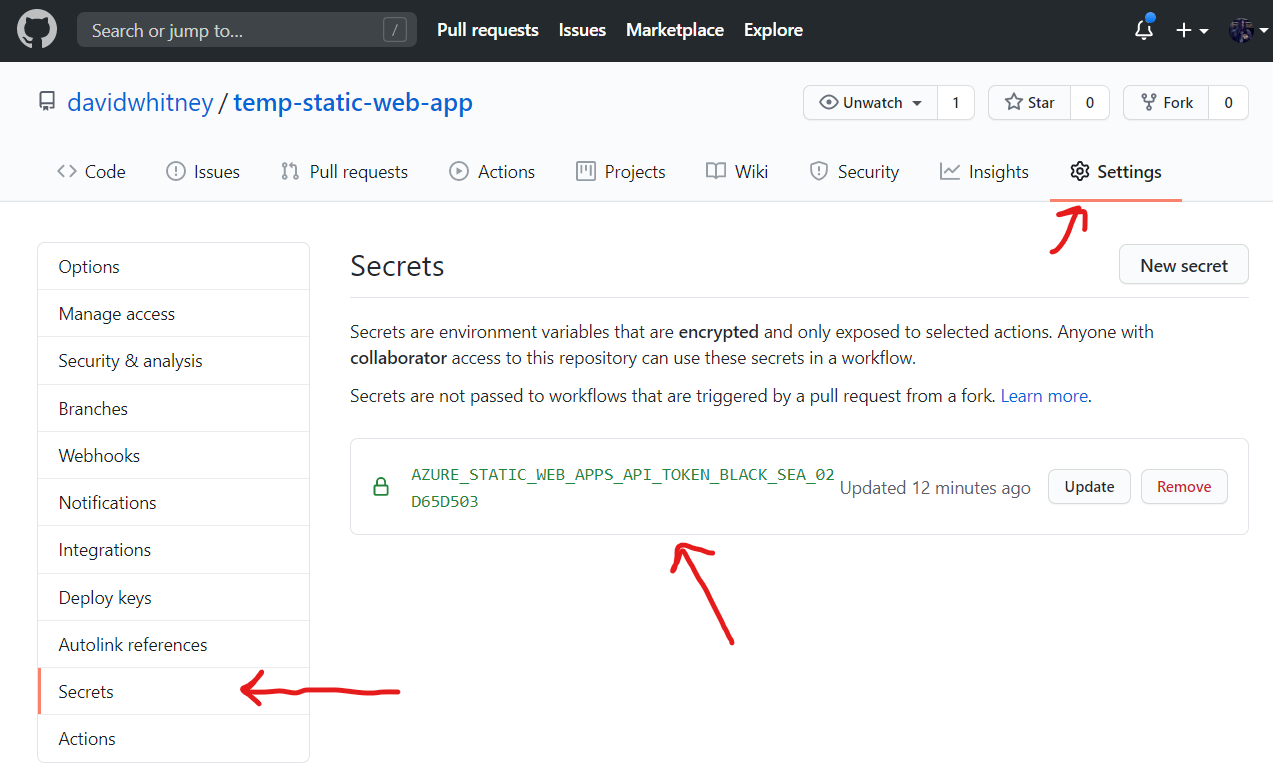
You will notice the secret key lines up in your repository.
Is this just web hosting? What makes this so special?
So far, this is simple, but also entirely unexciting – what makes Azure Static Web Apps so special though, is their seamless integration with Azure Functions.
Traditionally if you wanted to add some interactivity to a static web application, you’d have to stand up an API somewhere – Static Web Apps pulls these two things together, and allows you define both an Azure Static Web App, and some Azure functions that it’ll call, in the same repository.
This is really cool, because, you still don’t have a server! But you can run server-side code!
It is especially excellent because this server-side code that your application depends on, is versioned and deployed with the code that depends on it.
Let’s add an API to our static app!
Adding an API
By default, the configuration that was generated for your application expects to find an Azure Functions app in the /api directory, so we’re going to use npm and the Azure functions SDK to create one.
At the time of writing, the Functions runtime only supports up to Node 12 (the latest LTS version of node) and is updated tracking that version.
You’re going to need node installed, and in your path, for the next part of this tutorial to work.
First, let’s check out our repository
Make sure you have the Azure Functions Core Tools installed by running
npm install -g azure-functions-core-tools@3
Now we’re going to run a few commands to create an Azure functions app.
mkdir api
cd api
func init --worker-runtime=node --language=javascript
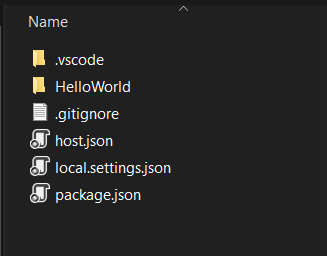
This generates a default javascript+node functions app in our API directory, we just need to create a function for our web app to call. Back in the command line, we’ll type (still in our /api directory)
func new --template "Http Trigger" --name HelloWorld
This will add a new function called HelloWorld into your API directory
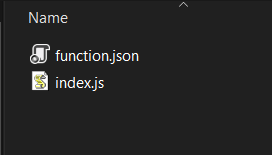
These are the bindings that tell the Azure functions runtime what to do with your code. The SDK will generate some code that actually runs…

Let’s edit our HTML to call this function.
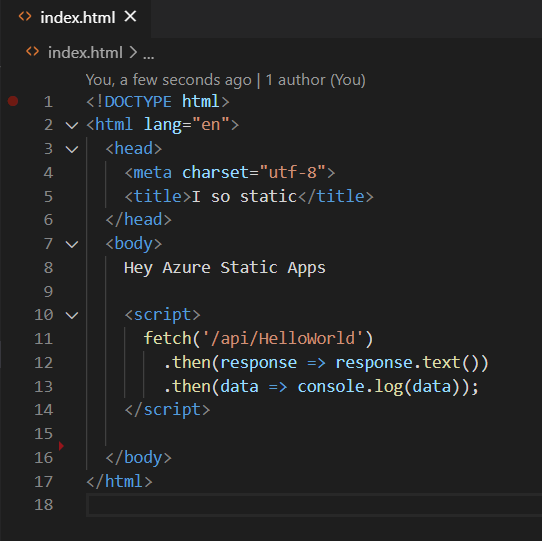
We’re using the browsers Fetch API to call “/api/HelloWorld” – Azure Static Web Apps will make our functions available following that pattern.
Let’s push these changes to git, and wait a minute or two for our deployment to run.
If we now load our webpage, we’ll see this:
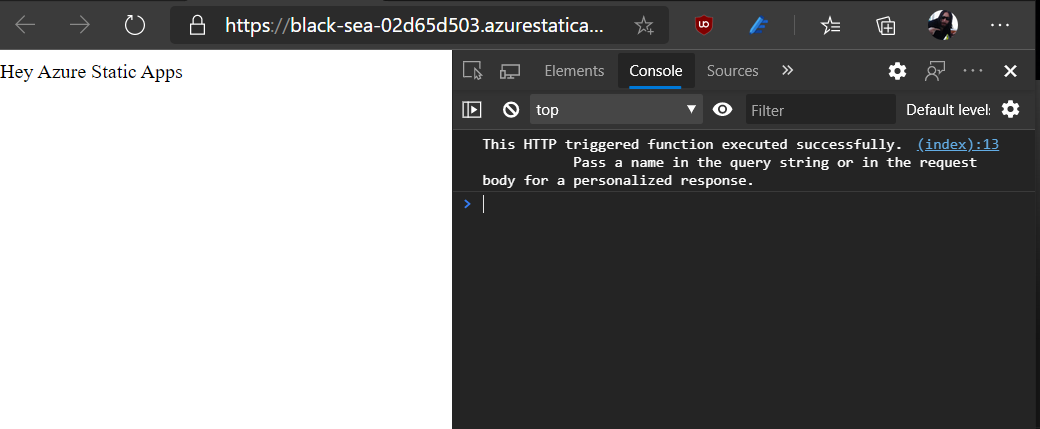
How awesome is that – a server-side API, without a server, from a few static files in a directory.
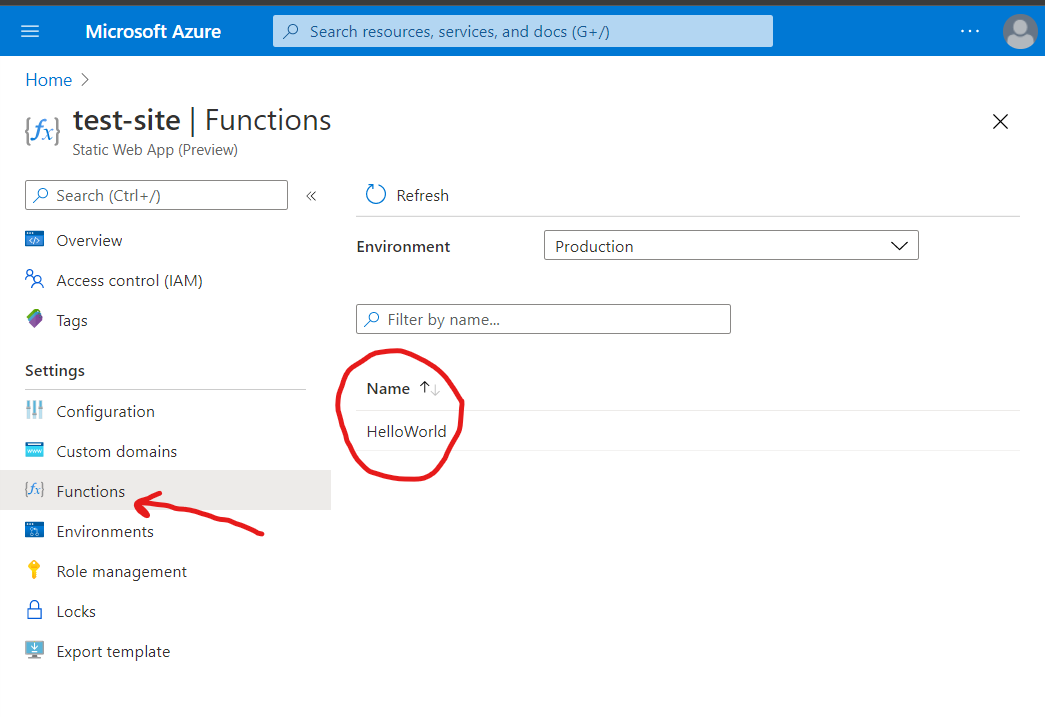
If you open up the Azure portal again, and select Functions, you’ll see your HelloWorld function now shows up:
I love it, but can I run it locally?
But of course!
Microsoft recommends using the npm package live-server to run the static portion of your app for development, which you can do just by typing
npx live-server
From the root of your repository. Let’s give that a go now
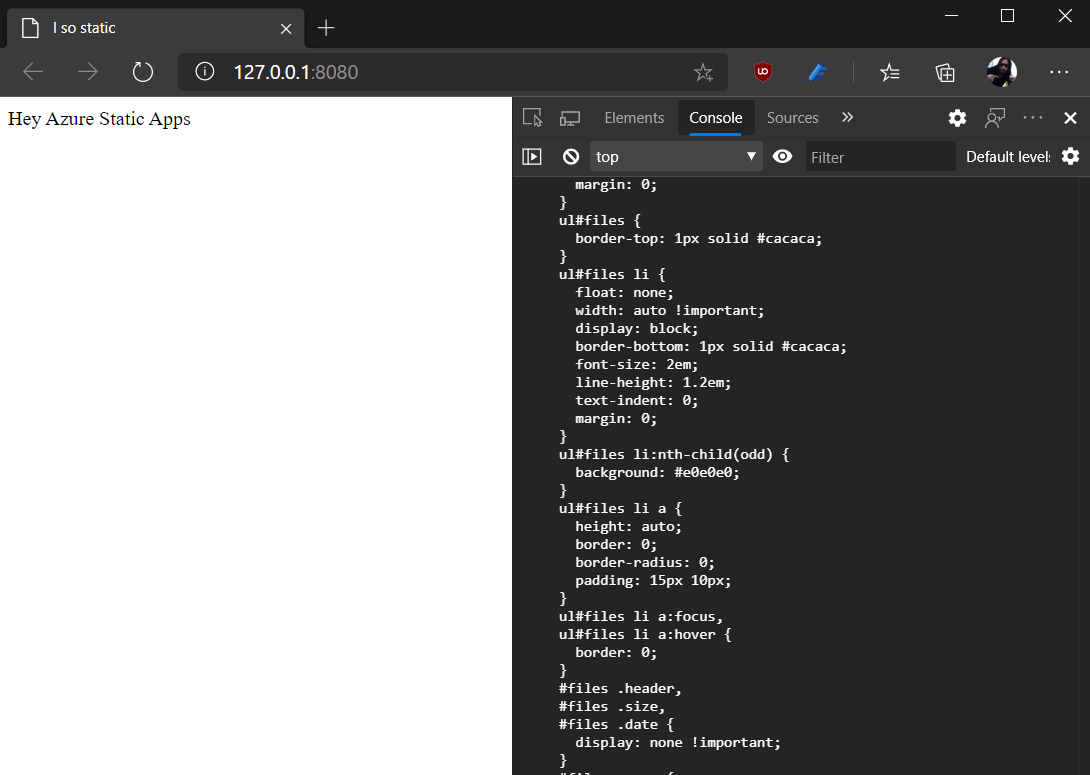
Oh no! What’s going on here.
Well, live-server is treating the /api directory as if it were content, and serving an index page locally, which isn’t what we want. To make this run like we would on production, we’re also going to need to run the azure functions runtime, and tell live-server to proxy any calls to /api across to that running instance.
Sounds like a mouthful, but let’s give that a go.
cd api
npm i
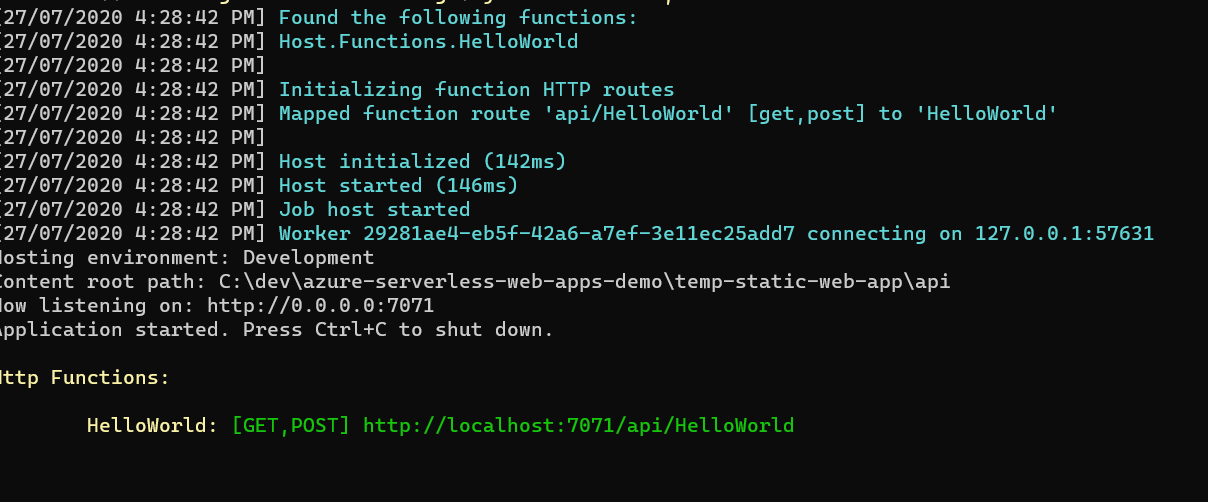
func start
This will run the Azure functions runtime locally. You will see something like this
Now, in another console tab, let’s start up live-server again, this time telling it to proxy calls to /api
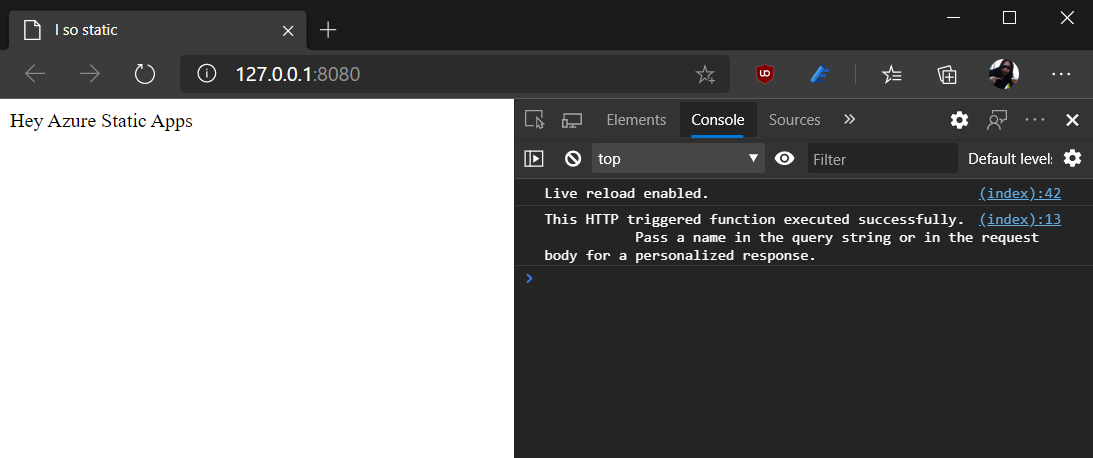
npx live-server --proxy=/api:http://127.0.0.1:7071/api
If we visit our localhost on 8080 now, you can see we have exactly the same behaviour as we do in Azure.
Great, but this all seems a little bit… fiddly… for local development.
If you open your root directory in Visual Studio Code, it will hint that it has browser extension support for debugging and development, but I like to capture this stuff inside my repository really so anyone can run these sites from the command line trivially.
Adding some useful scripts
I don’t know about you, but I’m constantly forgetting things, so let’s capture some of this stuff in some npm scripts so I don’t have to remember them again.
In our /api/package.json we’re going to add two useful npm tasks
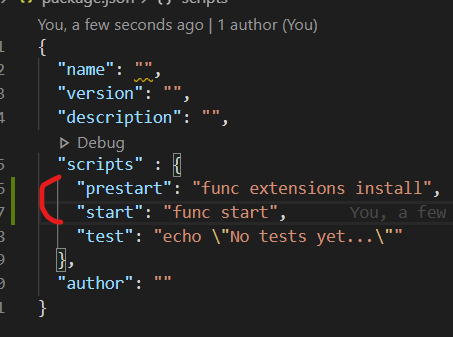
This just means we can call npm run start on that directory to have our functions runtime startup.
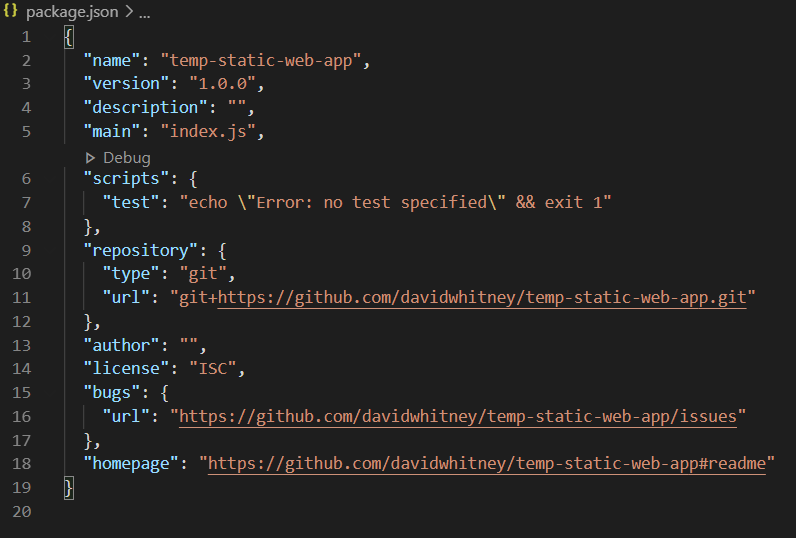
Next we’re going to add a package.json to the root of our repository, so we can capture all our live server related commands in one place.
From a command prompt type:
npm init
and hit enter a few times past the default options – you’ll end up with something looking like this
And finally, add the npm-run-parallel package
npm install npm-run-all –save-dev
We’re going to chuck a few more scripts in this default package.json
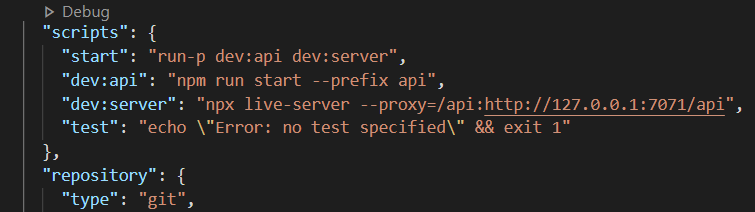
Here we’re setting up a dev:api, dev:server and a start task to automate the command line work we had to incant above.
So now, for local development we can just type
npm run start
And our environment works exactly how it would on Azure, without us having to remember all that stuff, and we can see our changes hot-reloaded while we work.
Let’s commit it and make sure it all still works on Azure!
Oh No! Build Failure!
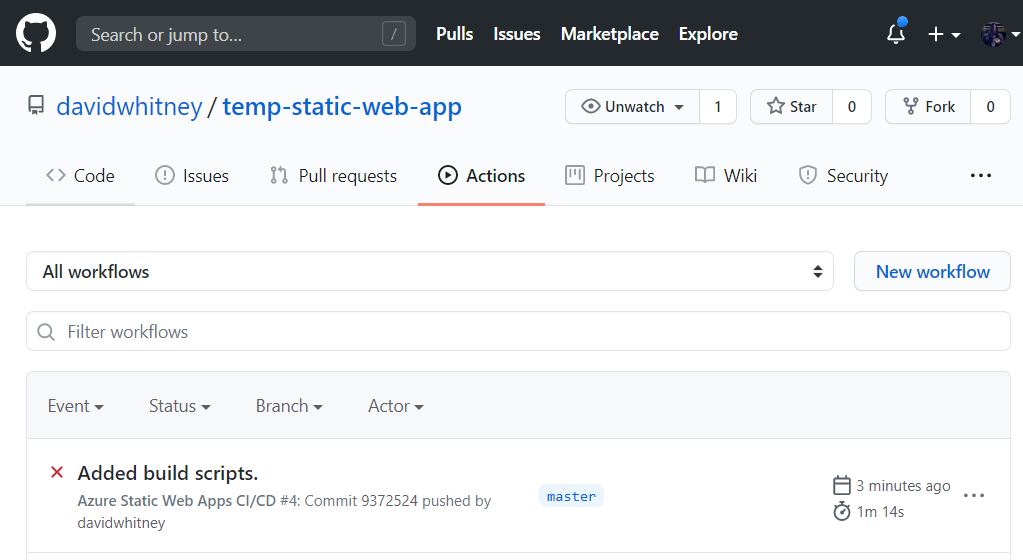
Ok, so I guess here is where our paint is dripping a little bit wet.
Adding that root package.json to make our life easier, actually broke something in our GitHub Actions deployment pipeline.
If we dig around in the logs, we’ll see that something called “Oryx” can’t find a build script, and doesn’t know what to do with itself
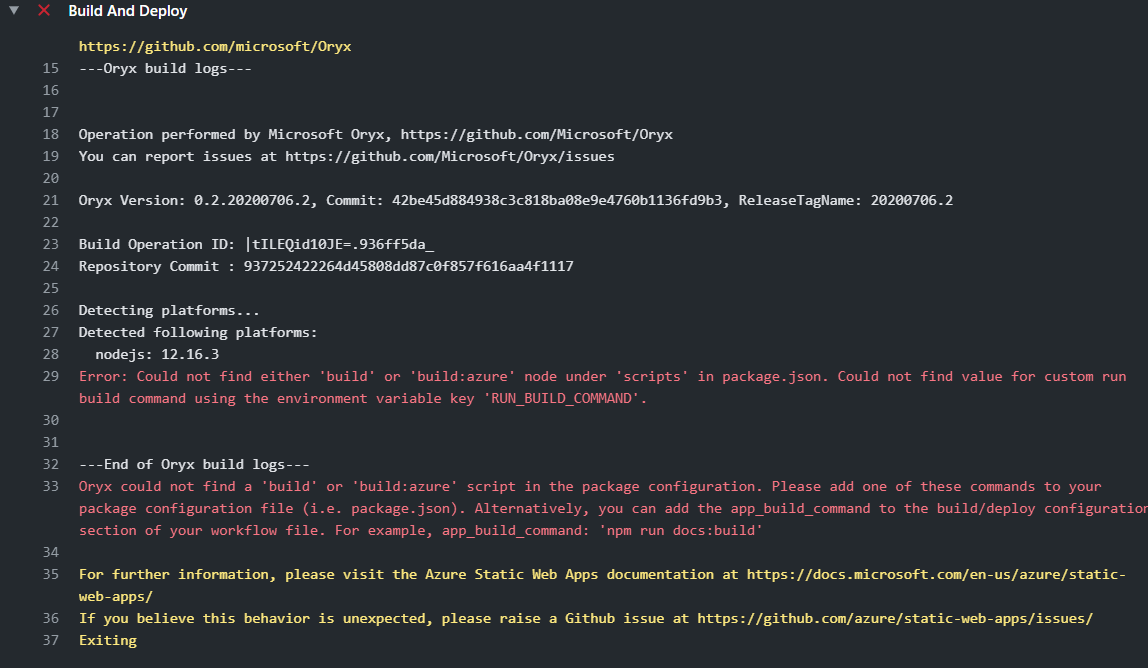
As it turns out, the cleverness that’s baked into Azure static web apps, is a tool called Oryx, and it’s expecting frameworks it understands, and is running some language detection.
What’s happened is that it’s found our package.json, presumed we’re going to be specifying our own build jobs, and we’re not just a static site anymore, but then when we didn’t provide a build task, it’s given up because it doesn’t know
what to do.
The easiest way I’ve found to be able to use node tooling, and still play nicely with Azure’s automated deployment engine is to do two things:
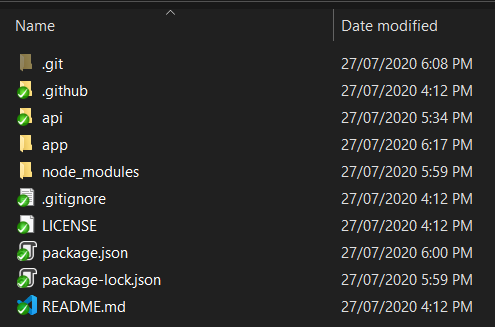
- Move our static assets into an “app” directory
- Update our deployment scripts to reflect this.
First, let’s create an app directory, and move our index.html file into it.
Now we need to edit the YAML file that Azure generated in .github/workflows
This might sound scary, but we’re only really changing one thing – in the jobs section, on line ~30 of the currently generated sample there are three configuration settings –
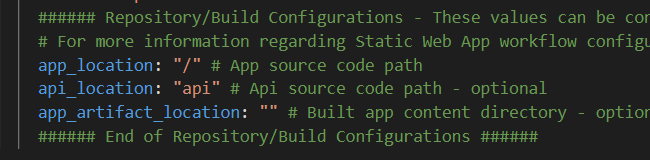
We just need to update app_location to be “app”.
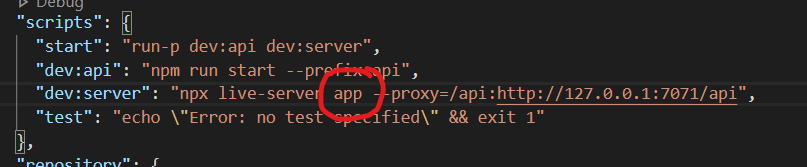
Finally, we need to update the npm scripts we added to make sure live-server serves our app from the right location.
In our root package.json, we need to add “app” to our dev:server build task
We’re also going to add a task called build:azure – and leave it empty.
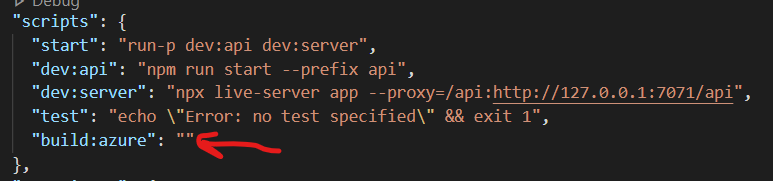
In total, we’ve only changed a few files subtly.
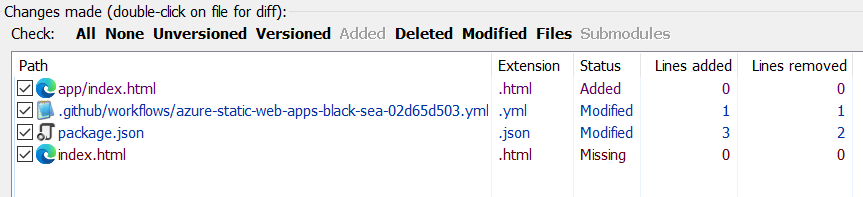
You might want to run your npm run start task again now to make sure everything still works (it should!) and commit your code and push it to GitHub.
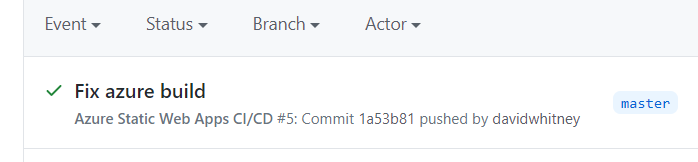
Wonderful.
Everything is working again.
“But David! You’re the TDD guy right? How do you test this!”
Here’s the really cool bit I suppose – now we’ve configured a build task, and know where we can configure an app_artifact_location – we can pretty much do anything we want.
- Want to use jest? Absolutely works!
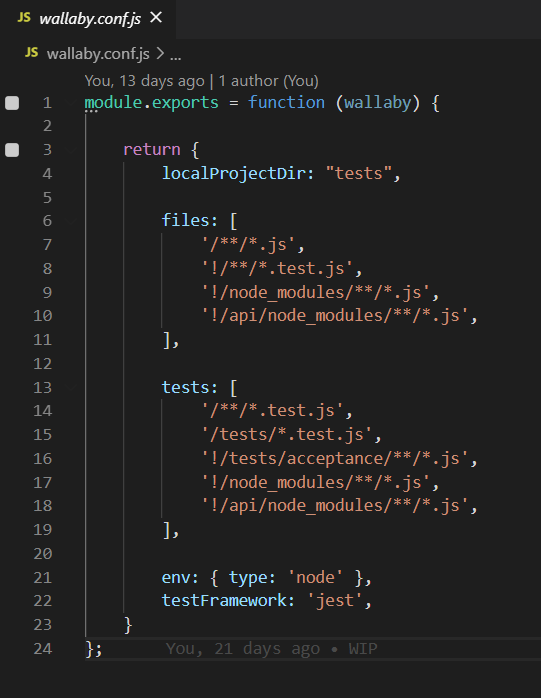
- Want to use something awesome like Wallaby? That too!
Why not both at once!
You just need to npm install the thing you want, and you can absolutely test the JavaScript in both your static site and your API.
You can install webpack and produce different bundled output, use svelte, anything, and Microsoft’s tooling will make sure to host and scale both your API and your web app.
My standard “dev” load-out for working with static web sites is
Add a few dev dependencies
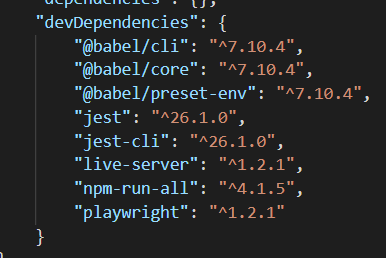
Add this default
babel.config.jsfile to the root of my repository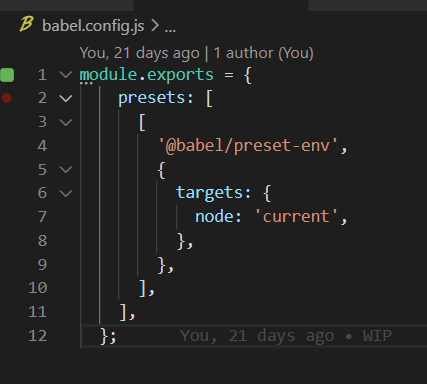
This allows jest to use any language features that my current version of node supports, and plays nicely with all my Visual Studio Code plugins.
I’ll also use this default Wallaby.conf.js configuration *for the continuous test runner Wallaby.js – which is similar to NCrunch but for JavaScript and TypeScript codebases.
You mentioned TypeScript?
Ah yes, well, Azure Functions runtime totally supports TypeScript.
When you create your API, you just need to
func init --worker-runtime=node --language=typescript
And the API that is generated will be TypeScript – it’s really that simple.
Equally, you can configure TypeScript for your regular static web app, you’ll probably want to configure WebPack to do the compiling and bundling into the assets folder, but it works absolutely fine.
When your functions are created using TypeScript, some extra .json metadata is created alongside each function that points to a compiled “dist” directory, that is built when the Azure functions runtime deploys your code, complete with source-maps, out of the box.
But let’s go wild, how about C# !
You can totally use C# and .NET Core too!
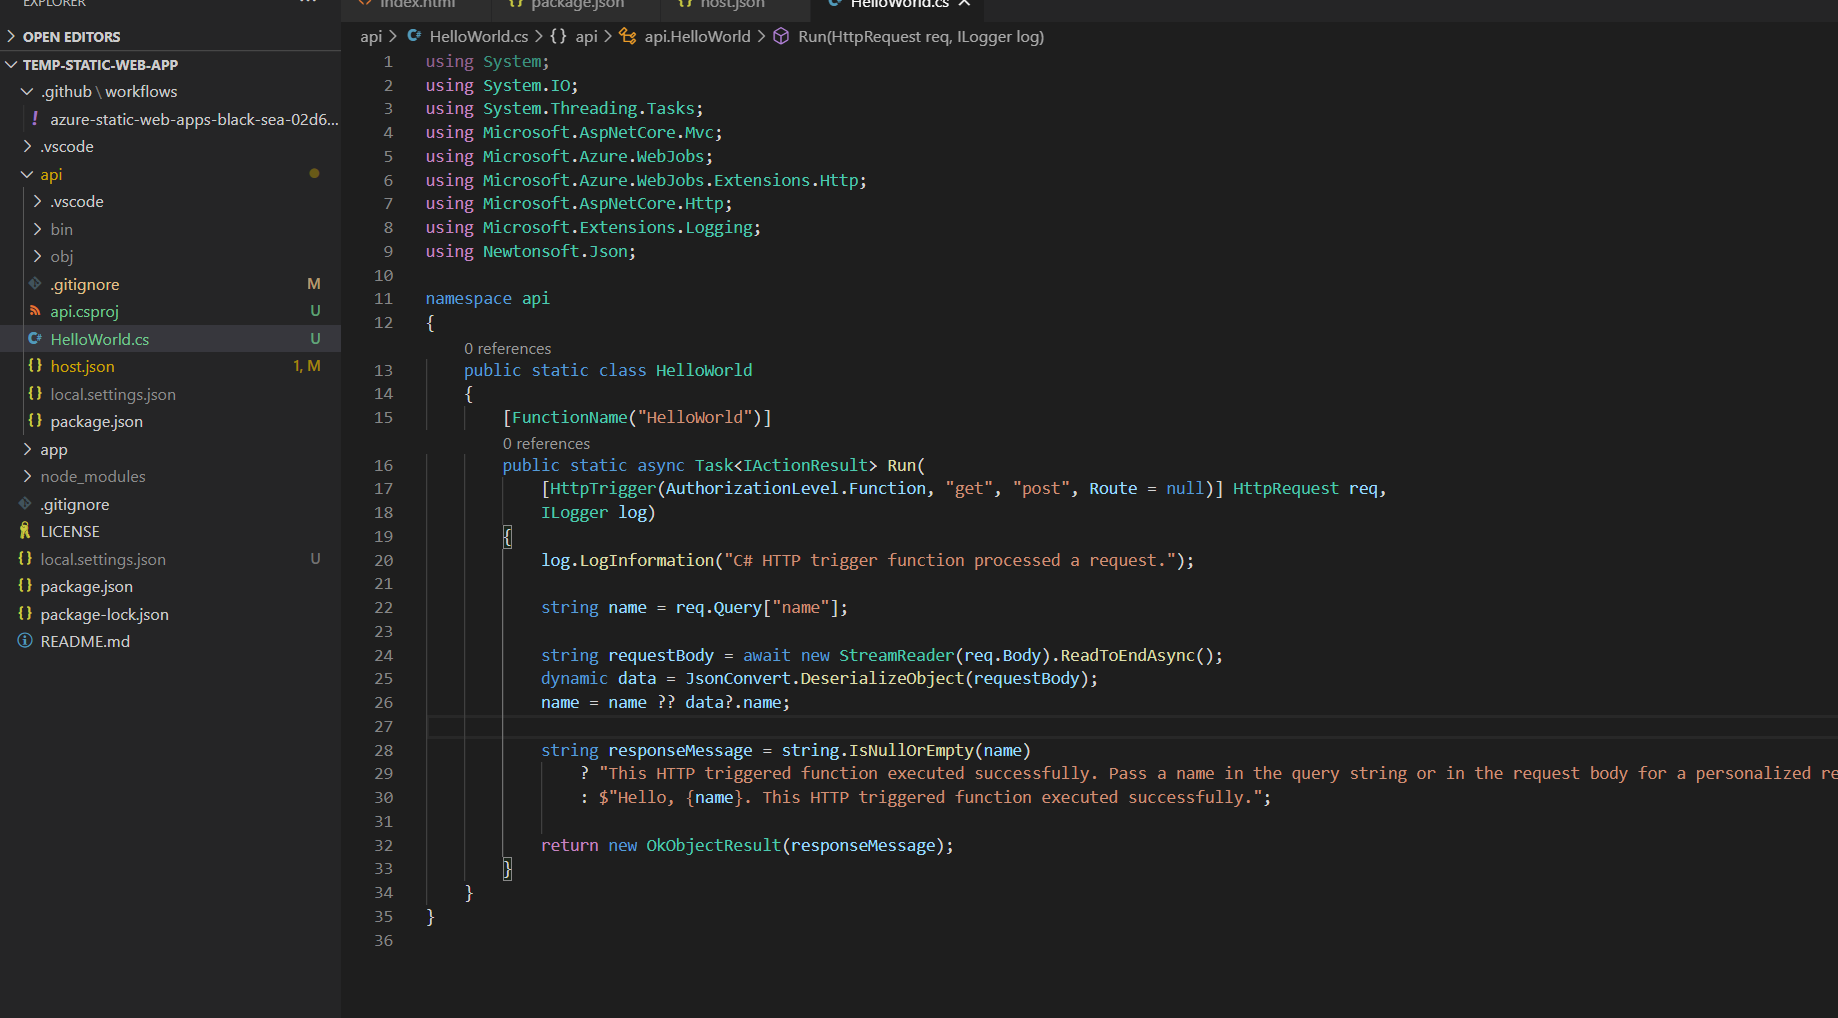
If you func init using the worker dotnet, the SDK will generate C# function code that works in exactly the same way as it’s JavaScript and TypeScript equivalent.
You can literally run a static web app, with an auto-scaled C# .NET Core API backing it.
Anything that the Azure Functions runtime supports is valid here (so python too).
I Think This is Really Awesome
I hope by splitting this out into tiny steps, and explaining how the GitHub Actions build, interacts with both the Functions runtime and the Oryx deployment engine that drives Azure Static Web Apps has given you some inspiration for the kinds of trivially scalable web applications you can build today, for practically free.
If you’re a C# shop, a little out of your comfort zone away from ASP.NET MVC, why not use Statiq.Web as part of the build process to generate static WebApps, that use C#, and are driven by a C# and .NET Core API?
Only familiar with Python? You can use Pelikon or Lector to do the same thing.
The Oryx build process that sits behind this is flexible, and provides plenty of hooks to customise the build behaviour between repository pulling, and your site getting served and scaled.
These powerful serverless abstractions let us do a lot more with a lot less, without the stress of worrying about outages, downtime, or scaling.
You can really get from zero to working in Azure static sites in five or ten minutes, and I legitimately think this is one of the best ways to host content on the internet today.